
Replacing a Clutch - 1997 Audi A4 Quattro (1.8t)
|
One of the first times I helped a stranger work on his car was unforgettable. I told him I'd be willing to help him out with whatever it was that was going on with his car. Meet Chris with his Audi A4. Chris informed me, I think my clutch is going out on my car and I'd like to replace it. I quickly started to second guess my willingness to help and thought, "What did I get myself into?" As I talked to Chris and started to understand his situation a little bit better, I knew that he was soon going to be without a car if I didn't help him.
He got to the house around 9:30 Sunday morning. We took a short trip down the road in the cult de sac and symptoms were obvious. The clutch was definitely on it's death bed, I'd say about a week left to live. We pulled the car into the garage and got down to business. I do say WE because he definitely did his fair share of work. By the end of the day, 1:00 AM Monday morning, we both looked like coal miners and I could barely hold my head upright from having held it up underneath the car all day long. |
|
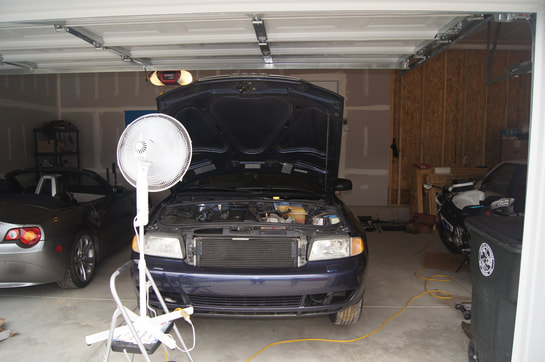
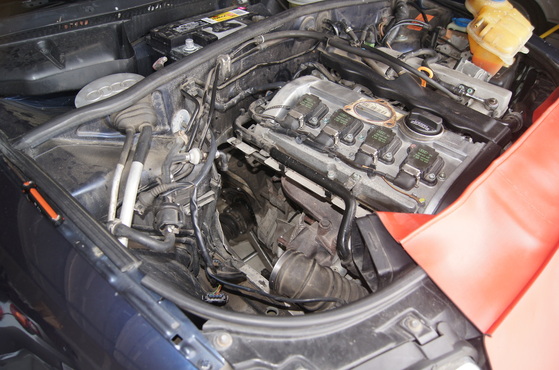
Here, we are trying to get the engine cooled down a bit so we can handle the exhaust which needs to be removed.
BTW, this is the last picture of this fan in a functional state, I accidentally knocked it off of the stepper and, let's just say, it's not in one piece anymore. |
|
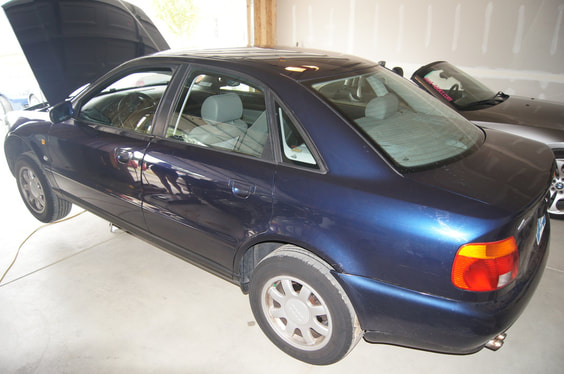
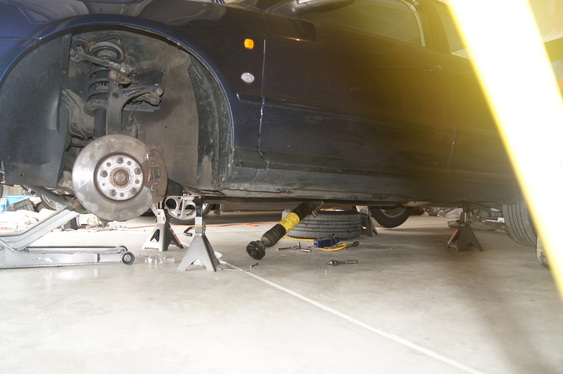
Getting the car jacked up and ready for the operation. (You can see my fiance, AKA da Boss, in the reflection)
|
About 5% done here. Coolant tank sitting up and out of the way so we could unplug the o2 sensors and route them up and out of the engine bay while we removed the Turbo Downpipe.
|
Intake out and Downpipe out. Now there's plenty of room to get to those Trans Bolts. (Note the ground cable has been disconnected, Safety first)
|
|
Getting things disconnected underneath, things are still going fairly well.
About 30% done. Wonder what that yellow sticker is on that driveshaft? |

Well look at that, an OEM Carbon Fiber drive shaft on a 1997 Audi. I was quite surprised to see that.
|
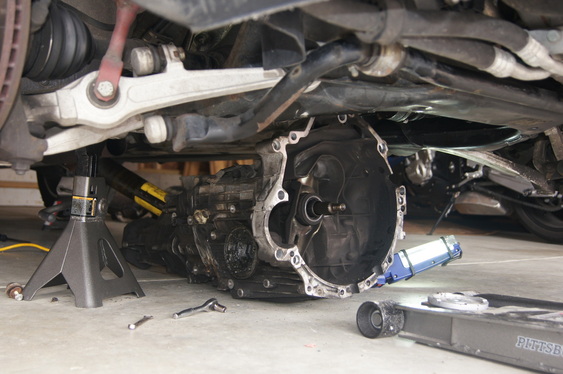
Transmission out. BY FAR the heaviest transmission I've dealt with in all my years. Quattro - All Wheel drive packed into a single housing.
About 40% done. |
|
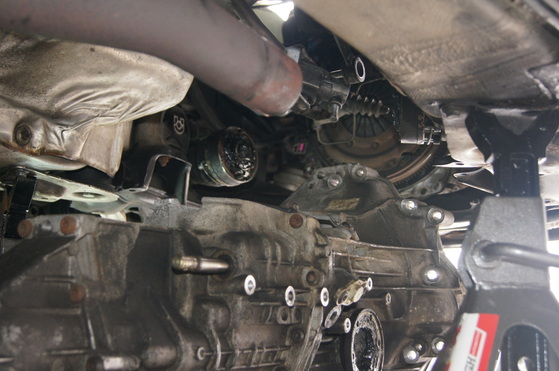
Here's where things got interesting, and dirty. The 6 bolts that hold the pressure plate onto the flywheel were extremely difficult to remove. I had to buy a torch and there was a little bit of hammering that followed, but eventually we got them all out.
|
After a couple blisters and a lot of struggling, we finally got the old clutch out.
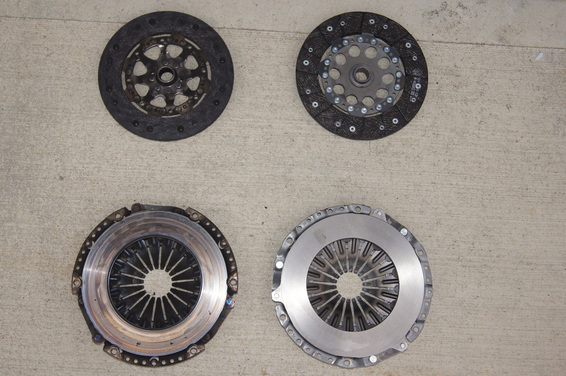
The old setup (Sach's) is on the left and the new one (Luk) is on the right. |

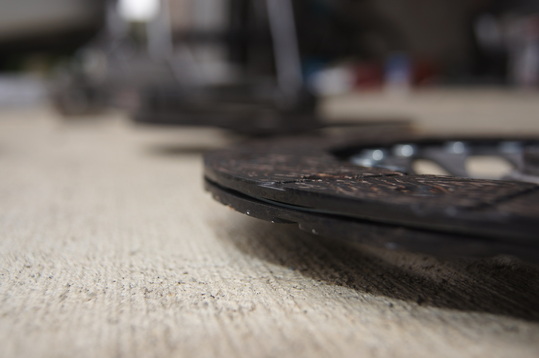
The old clutch disc. As this disc wore down, it's powdered remains collected within the pressure plate and around the flywheel. Once we started to remove the 6 bolts that held the pressure plate onto the flywheel, we knocked it all loose and down onto us. After crawling around in it for hours, this black powder is how we ended up looking like coal miners after a long day in the mines. It was all over us from head to toe, front to back. We swept it up multiple times throughout the day but it just seemed to never end.
|
|

The old pressure plate. Look at how much wear there is! It becomes more apparent if you look right near the retaining rivet and can see the step from the clutch disc surface up to the rivet mounting surface. On the New clutch, these two surfaces were opposite with the rivet mounting surface being below the clutch disc surface.
|
Last but definitely not least, the new Clutch Disc. Approaching the 50% mark very quickly.
Once we got the new clutch in, things went very smoothly, but we were both too tired and worn out to care about taking pictures. |
Chris just getting back from the test drive. The car is running better than ever now. (We also changed the spark plugs on it while we were having lunch.) It is just a few minutes shy of 1:00 AM at this point. but we are 100% done and Chris is quite satisfied with the results. His A4 should be good to go for a while now.
|
|
|
|
|
Donations gladly accepted for site development. |
